All Categories
Featured
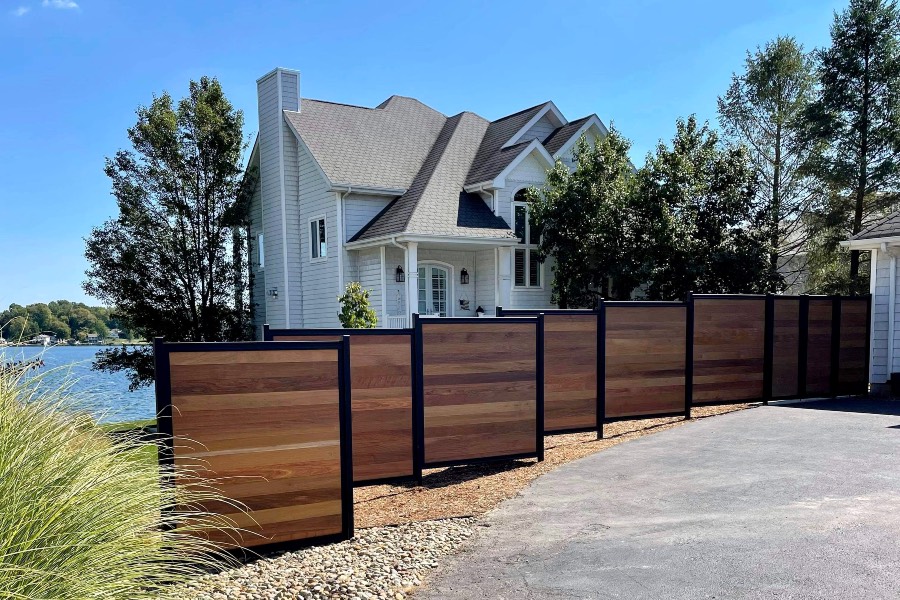
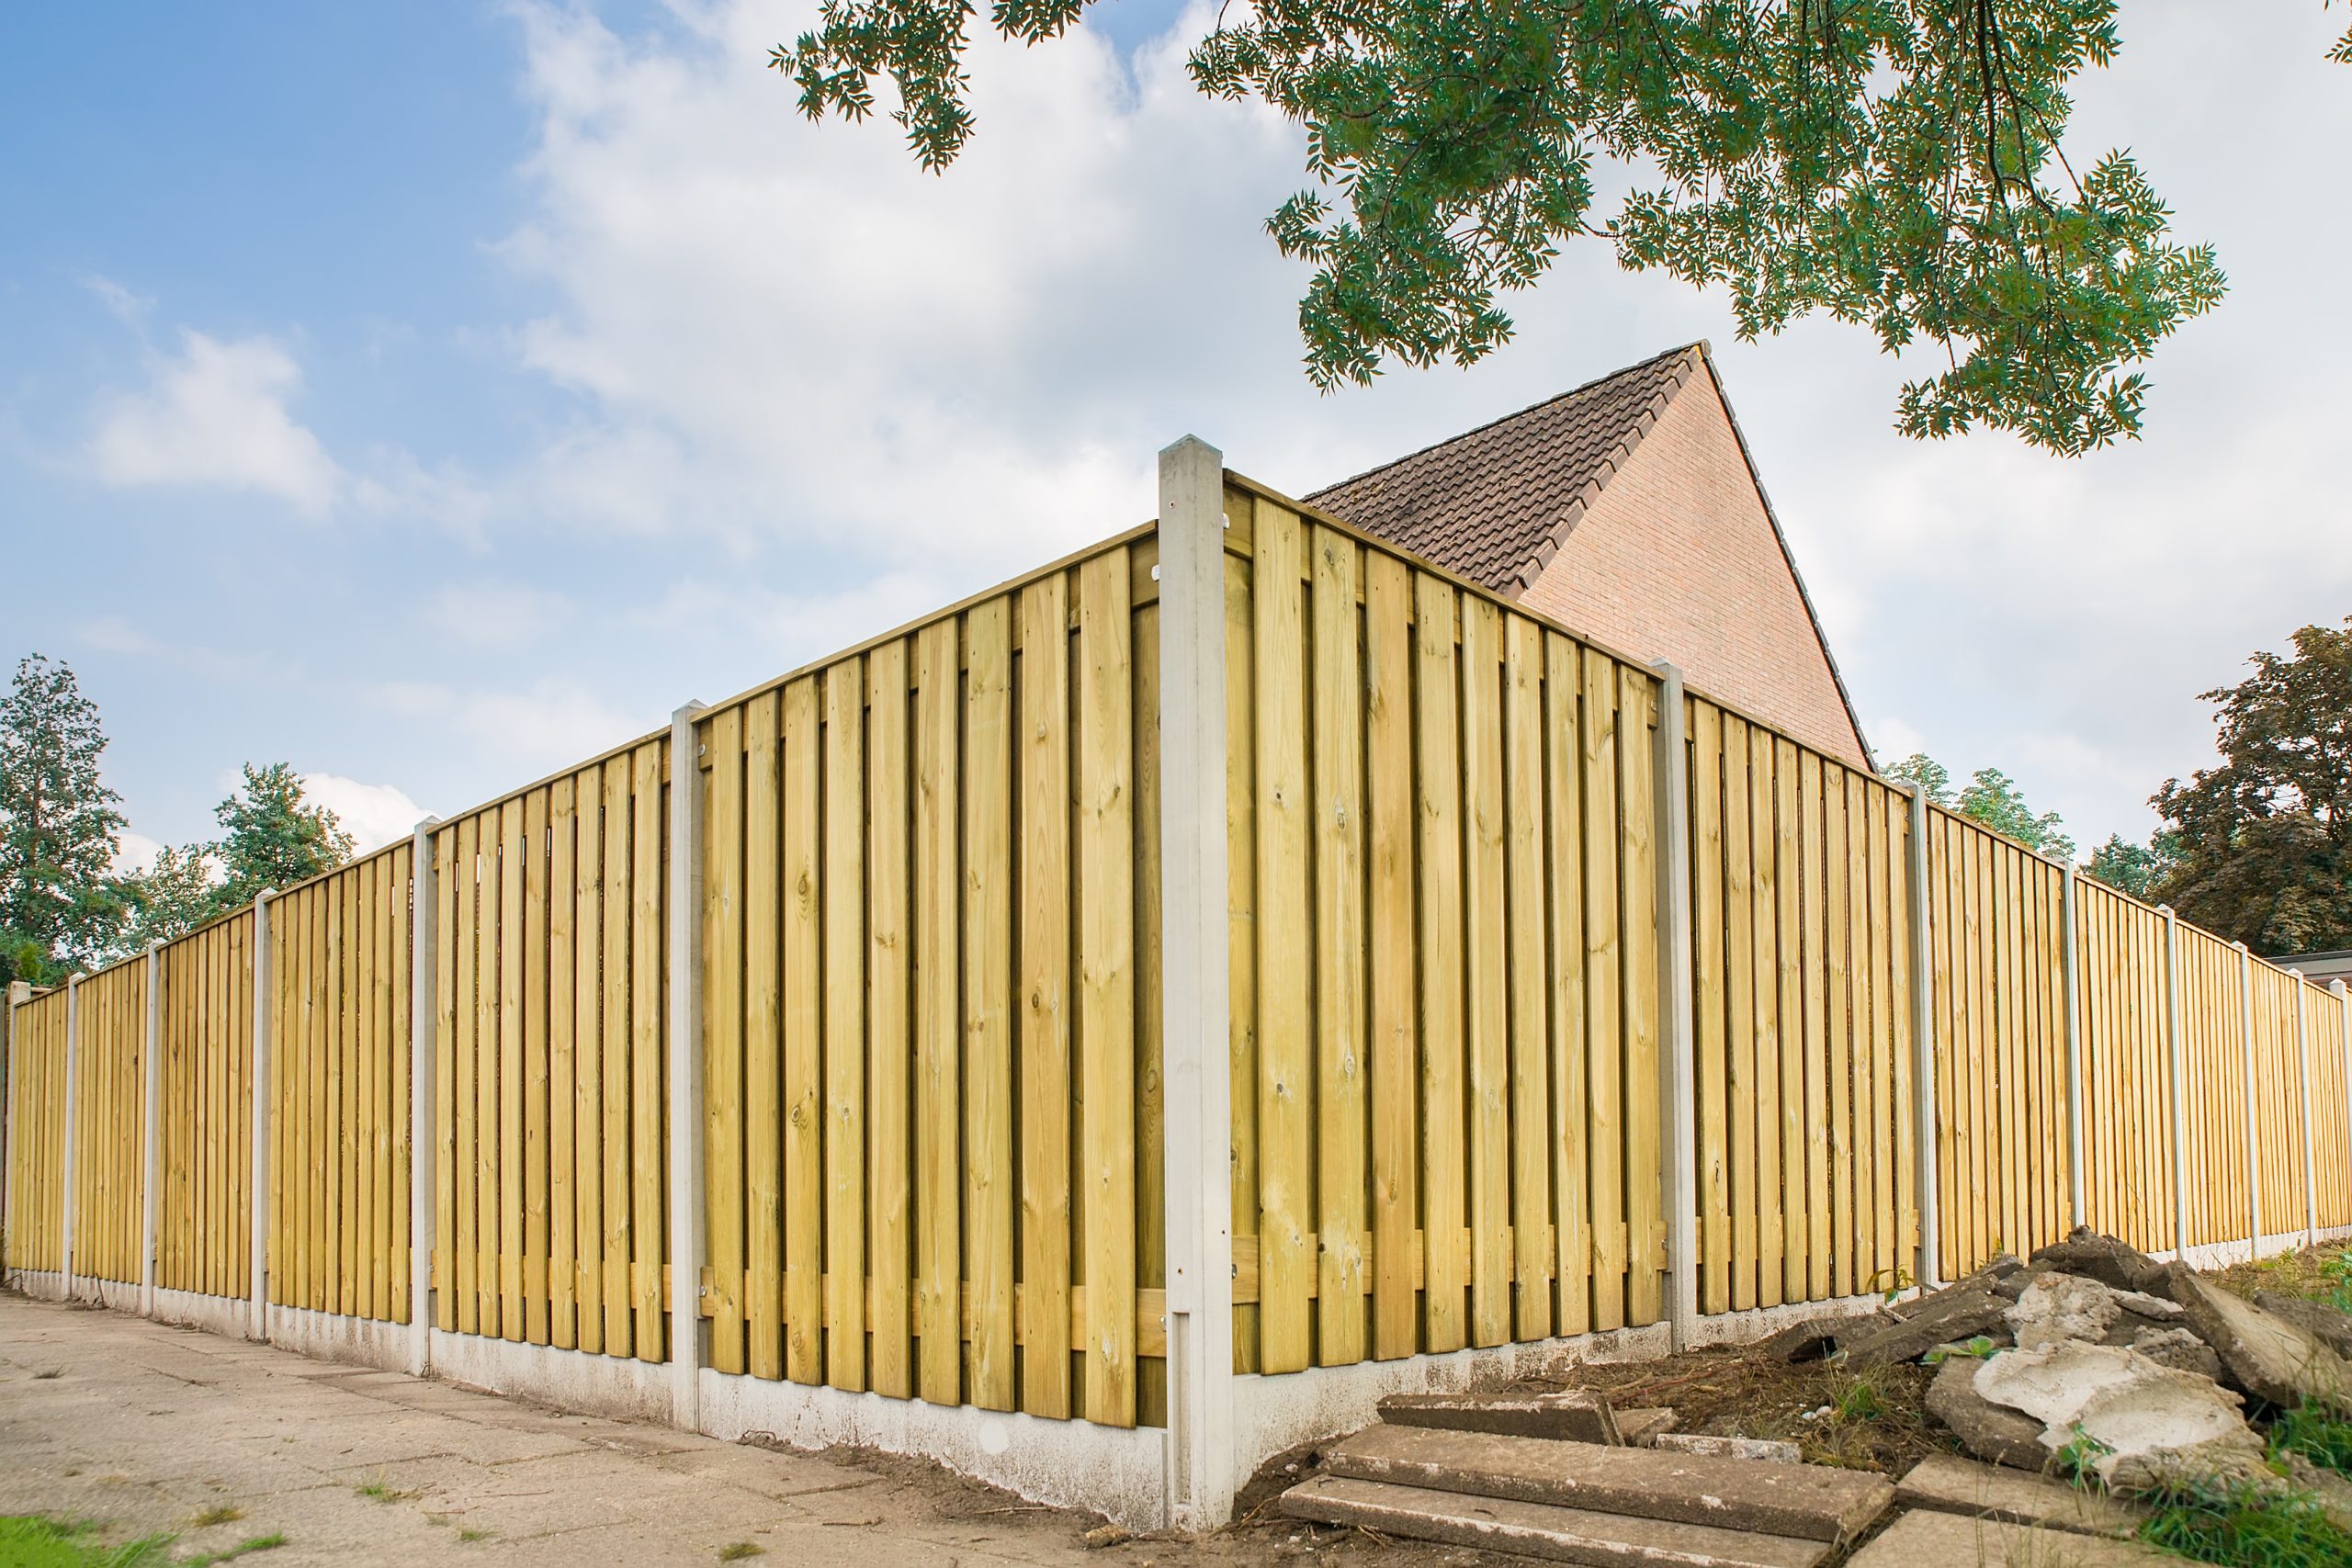
Fencing posts are the backbone of any type of sturdy fence, giving vital support and structure. With time, they might endure or lean damages due to weather, soil problems, or general wear and tear. Below's a practical overview to help you fix a leaning or damaged fence blog post effectively.
Action 1: Determine the Trouble
Prior to beginning repair work, assess the cause of the leaning or damage. Typical concerns include:
Rotting Timber: Dampness can trigger wood posts to decay.
Shifting Soil: Erosion or loose soil might lead to instability.
Effect Damages: Blog posts can be deteriorated by collisions or extreme weather.
Improper Installation: Shallow blog post openings or inadequate anchoring can lead to leaning.
Understanding the origin will certainly aid you establish the very best repair technique.
Step 2: Gather the Necessary Tools and Products
Right here's what you'll require:
Shovel or blog post hole digger
Level
Post anchors or braces
Substitute message (if necessary)
![]()
Crushed rock and/or concrete mix
Drill or hammer
Safety gear (handwear covers, safety glasses)
Action 3: Repairing a Leaning Fencing Article
If the blog post is leaning yet structurally sound, adhere to these actions:
Expose the Base. Dig around the post to expose the base, getting rid of loose soil or debris. This will permit you to reposition it.
![]()
Realign the Post. Push or pull the message upright, checking its positioning with a level. Use momentary dental braces or stakes to hold it in area.
Enhance the Structure
Gravel Technique: Add gravel around the base, tamping it down to supply security.
Concrete Method: Mix and pour concrete right into the hole around the message. Make sure the blog post remains level as the concrete collections.
Protect the Blog Post. Let the concrete cure for a minimum of 24-48 hours before removing braces or stakes.
Step 4: Replacing a Damaged Fencing Blog Post
If the message is broken, rotten, or otherwise beyond repair service, changing it is the most effective choice.
Get Rid Of the Old Article. Dig out the old message, including any kind of concrete footing. Use a crowbar or article puller for persistent blog posts.
Prepare the Hole. Clean and broaden the hole as needed. For ideal assistance, the hole ought to be one-third the length of the post.
Set Up the New Blog Post. Area the new post into the hole. Make use of a degree to guarantee it's straight and momentarily support it.
Secure and fill up. Add gravel for drainage at the base, after that fill the opening with concrete or snugly packed soil. Enable the concrete to set prior to attaching the fence panels.
Step 5: Avoid Future Issues.
To maintain your fencing and avoid similar troubles:
Use pressure-treated timber or steel posts for raised longevity.
Ensure appropriate drain around the base to stop water damages.
Conduct regular evaluations to recognize prospective problems early.
Conclusion
Fixing a leaning or harmed fencing message doesn't have to be daunting. With the right devices, products, and method, you can restore your fence to its complete performance and appearance. Routine maintenance and aggressive care will assist extend the life of your fence, ensuring it stays a reliable and appealing component of your home for many years ahead.
Action 1: Determine the Trouble
Prior to beginning repair work, assess the cause of the leaning or damage. Typical concerns include:
Rotting Timber: Dampness can trigger wood posts to decay.
Shifting Soil: Erosion or loose soil might lead to instability.
Effect Damages: Blog posts can be deteriorated by collisions or extreme weather.
Improper Installation: Shallow blog post openings or inadequate anchoring can lead to leaning.
Understanding the origin will certainly aid you establish the very best repair technique.
Step 2: Gather the Necessary Tools and Products
Right here's what you'll require:
Shovel or blog post hole digger
Level
Post anchors or braces
Substitute message (if necessary)
Crushed rock and/or concrete mix
Drill or hammer
Safety gear (handwear covers, safety glasses)
Action 3: Repairing a Leaning Fencing Article
If the blog post is leaning yet structurally sound, adhere to these actions:
Expose the Base. Dig around the post to expose the base, getting rid of loose soil or debris. This will permit you to reposition it.
Realign the Post. Push or pull the message upright, checking its positioning with a level. Use momentary dental braces or stakes to hold it in area.
Enhance the Structure
Gravel Technique: Add gravel around the base, tamping it down to supply security.
Concrete Method: Mix and pour concrete right into the hole around the message. Make sure the blog post remains level as the concrete collections.
Protect the Blog Post. Let the concrete cure for a minimum of 24-48 hours before removing braces or stakes.
Step 4: Replacing a Damaged Fencing Blog Post
If the message is broken, rotten, or otherwise beyond repair service, changing it is the most effective choice.
Get Rid Of the Old Article. Dig out the old message, including any kind of concrete footing. Use a crowbar or article puller for persistent blog posts.
Prepare the Hole. Clean and broaden the hole as needed. For ideal assistance, the hole ought to be one-third the length of the post.
Set Up the New Blog Post. Area the new post into the hole. Make use of a degree to guarantee it's straight and momentarily support it.
Secure and fill up. Add gravel for drainage at the base, after that fill the opening with concrete or snugly packed soil. Enable the concrete to set prior to attaching the fence panels.
Step 5: Avoid Future Issues.
To maintain your fencing and avoid similar troubles:
Use pressure-treated timber or steel posts for raised longevity.
Ensure appropriate drain around the base to stop water damages.
Conduct regular evaluations to recognize prospective problems early.
Conclusion
Fixing a leaning or harmed fencing message doesn't have to be daunting. With the right devices, products, and method, you can restore your fence to its complete performance and appearance. Routine maintenance and aggressive care will assist extend the life of your fence, ensuring it stays a reliable and appealing component of your home for many years ahead.
Latest Posts
The Shower Room Upgrade Every Detroit Home Deserves
Published Apr 19, 25
1 min read
Improved High Quality, Driven by Service
Published Apr 19, 25
1 min read
Auto Repair Services: Expert Vehicle Service You Can Trust !
Published Apr 19, 25
2 min read